

 You can use the to synchronize your existing and new data. Here’s what the connector can do:
-
Sync data from an S3 bucket instance to a :
- Use glob patterns to identify the objects to sync.
- Watch an S3 bucket for new files and import them automatically. It runs on a configurable schedule and tracks processed files.
- Important: the connector processes files in lexicographical order. It uses the name of the last file processed as a marker and fetches only files later in the alphabet in subsequent queries. Files added with names earlier in the alphabet than the marker are skipped and never synced. For example, if you add the file Bob when the marker is at Elephant, Bob is never processed.
- For large backlogs, check every minute until caught up.
-
Sync data from multiple file formats:
- CSV: check for compression in GZ and ZIP format, then process using timescaledb-parallel-copy.
- Parquet: convert to CSV, then process using timescaledb-parallel-copy.
- The offers an option to enable a during the file-to-table schema mapping setup. You can enable and s through the once the connector has started running.
- The connector offers a default 1-minute polling interval. This means that checks the S3 source every minute for new data. You can customize this interval by setting up a cron expression.
Prerequisites
To follow the steps on this page:- Create a target with Real-time analytics enabled. You need your connection details.
- Ensure access to a standard Amazon S3 bucket containing your data files. Directory buckets are not supported.
-
Configure access credentials for the S3 bucket.
The following credentials are supported:
-
IAM Role.
-
Configure the trust policy. Set the:
-
Principal:arn:aws:iam::142548018081:role/timescale-s3-connections. -
ExternalID: set to the and ID of the you are syncing to in the format<projectId>/<serviceId>. This is to avoid the confused deputy problem.
-
-
Give the following access permissions:
s3:GetObject.s3:ListBucket.
-
Configure the trust policy. Set the:
- Public anonymous user.
-
IAM Role.
This feature is currently not supported for on Microsoft Azure.
Limitations
-
File naming:
Files must follow lexicographical ordering conventions. Files with names that sort earlier than already-processed files are permanently skipped. Example: if
file_2024_01_15.csvhas been processed, a file namedfile_2024_01_10.csvadded later will never be synced. Recommended naming patterns: timestamps (for example,YYYY-MM-DD-HHMMSS), sequential numbers with fixed padding (for example,file_00001,file_00002). -
CSV:
- Maximum file size: 1 GB To increase this limit, contact
- Maximum row size: 2 MB
-
Supported compressed formats:
- GZ
- ZIP
-
Advanced settings:
- Delimiter: the default character is
,, you can choose a different delimiter - Skip header: skip the first row if your file has headers
- Delimiter: the default character is
-
Parquet:
- Maximum file size: 1 GB
- Maximum row size: 2 MB
- Sync iteration: To prevent system overload, the connector tracks up to 100 files for each sync iteration. Additional checks only fill empty queue slots.
Synchronize data to your service
To sync data from your S3 bucket to your using :- Connect to your In , select the to sync live data to.
-
Connect the source S3 bucket to the target
-
Click
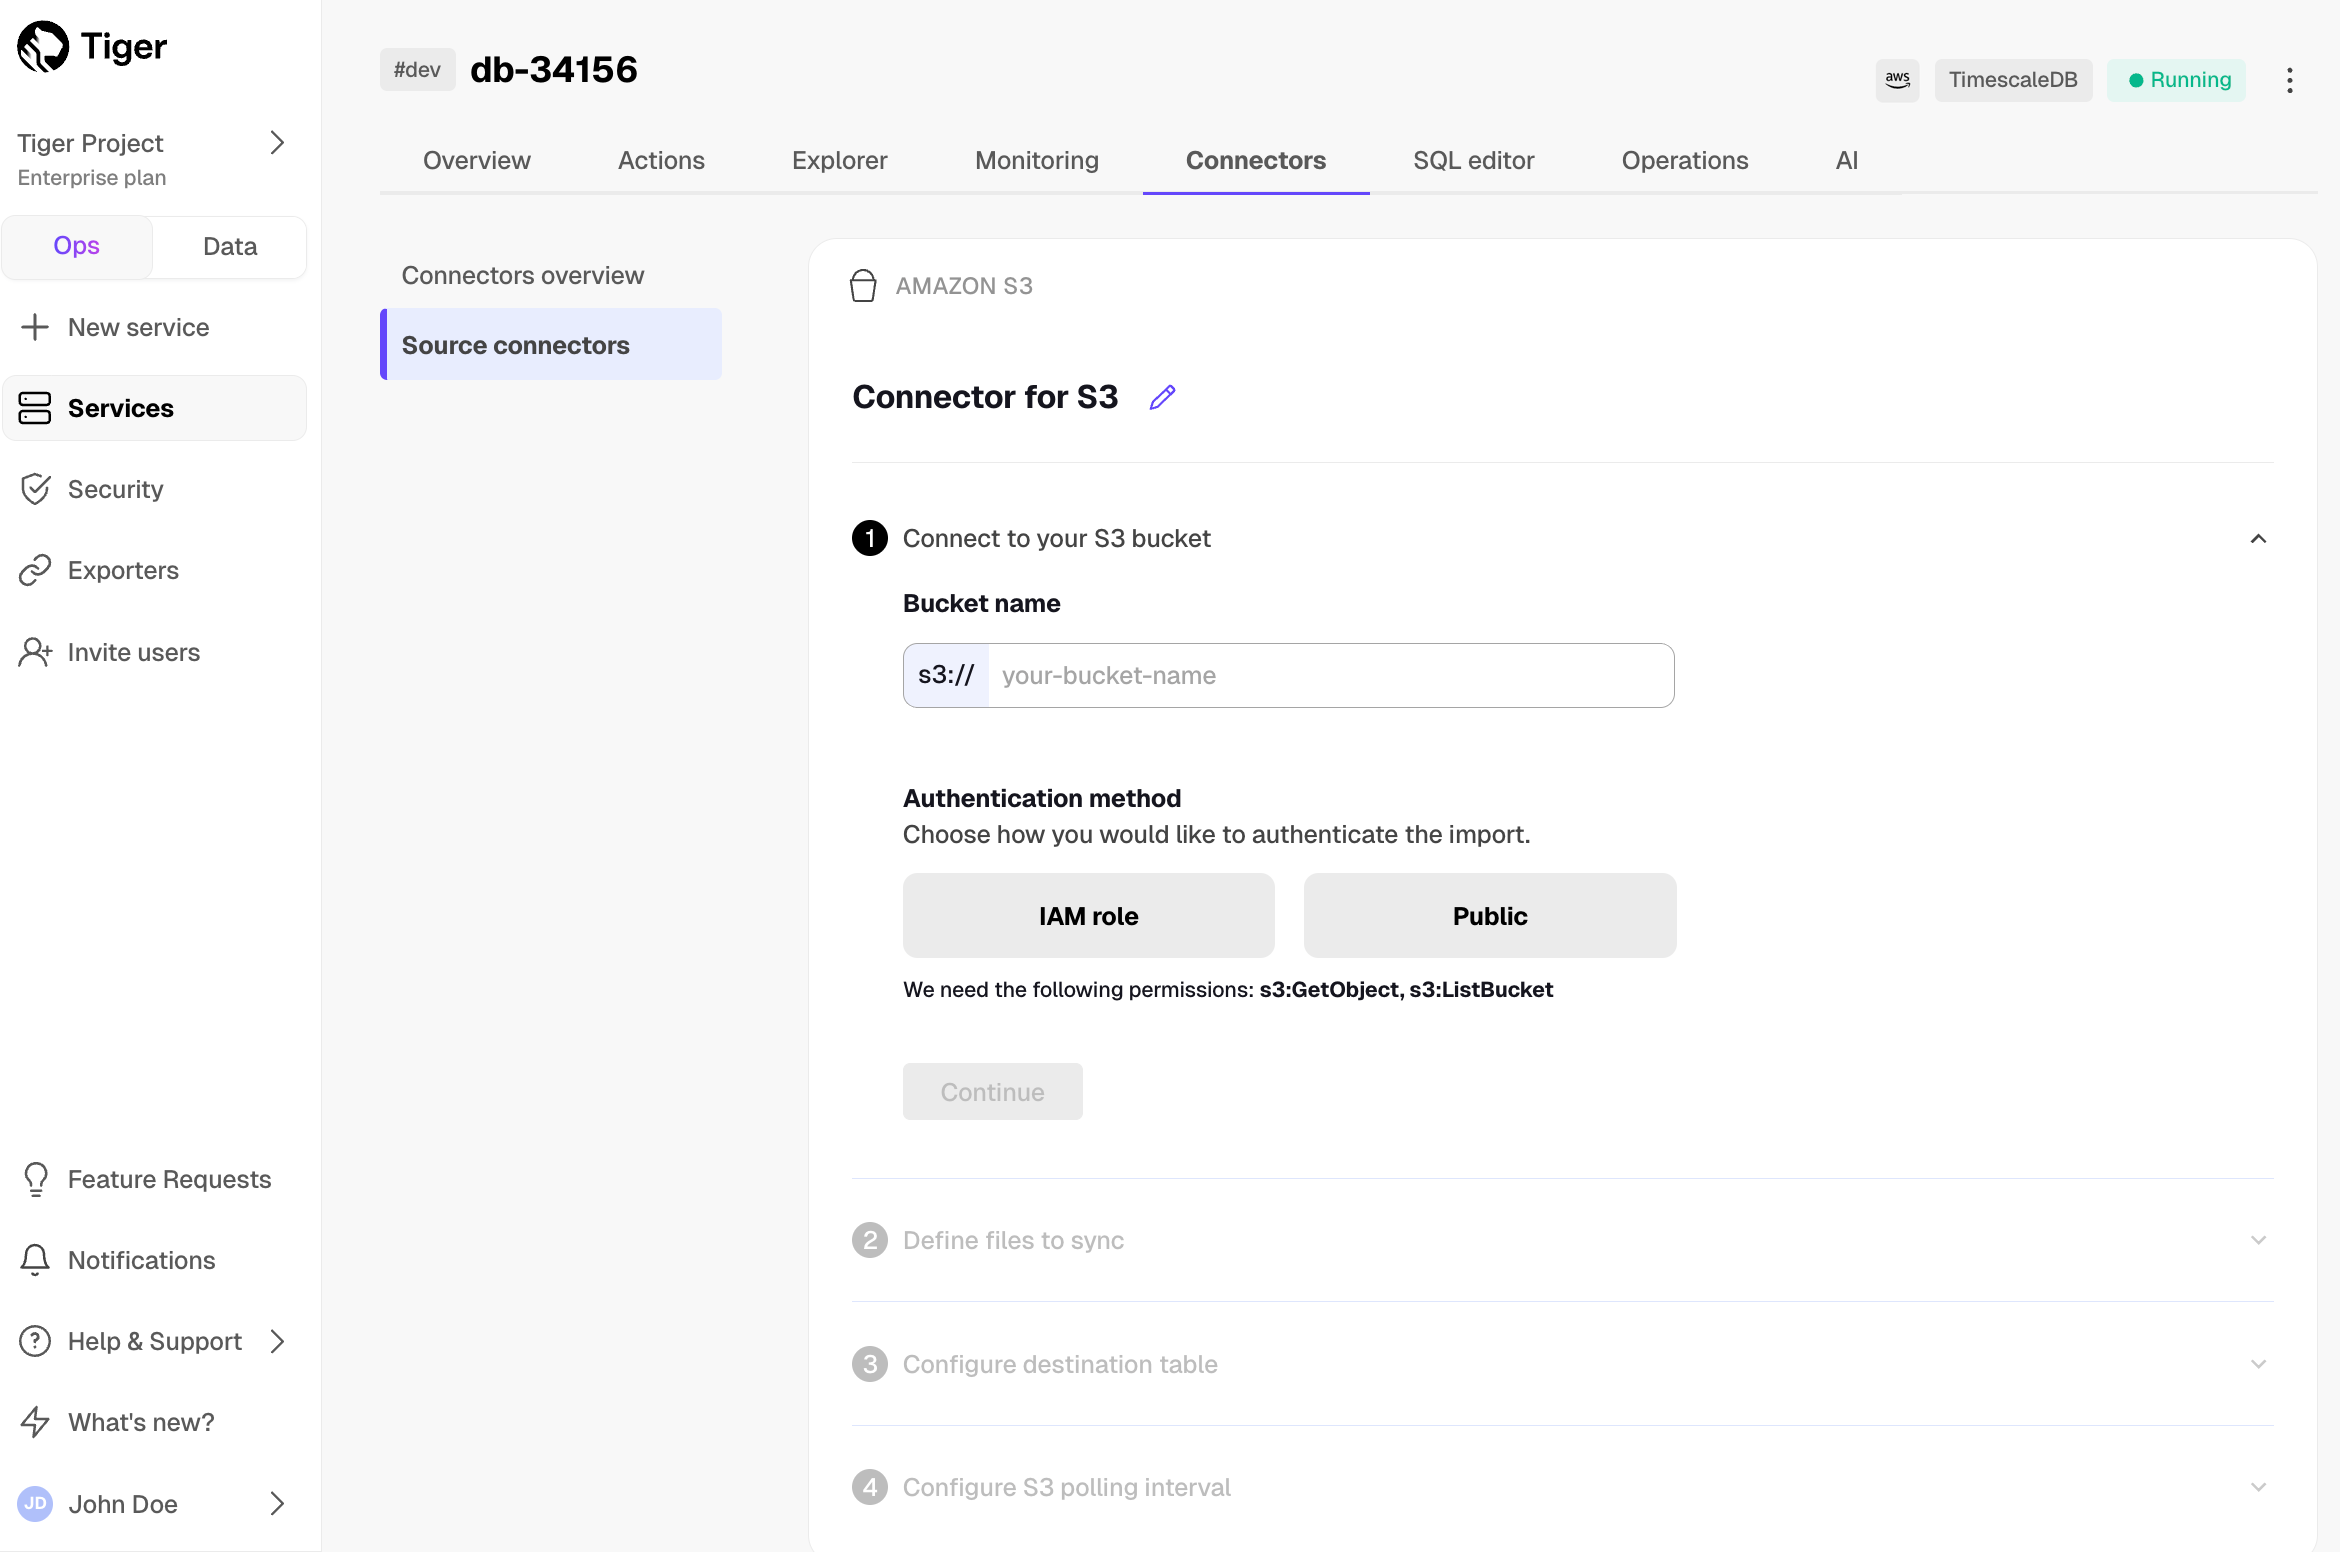
Connectors>Amazon S3. - Click the pencil icon, then set the name for the new connector.
-
Set the
Bucket nameandAuthentication method, then clickContinue. For instruction on creating the IAM role to connect your S3 bucket, clickLearn how. connects to the source bucket. -
In
Define files to sync, choose theFile typeand set theGlob pattern. Use the following patterns:<folder name>/*: match all files in a folder. Also, any pattern ending with/is treated as/*.<folder name>/**: match all recursively.<folder name>/**/*.csv: match a specific file type.
-
Click the search icon. You see the files to sync. Click
Continue.
-
Click
-
Optimize the data to synchronize in hypertables
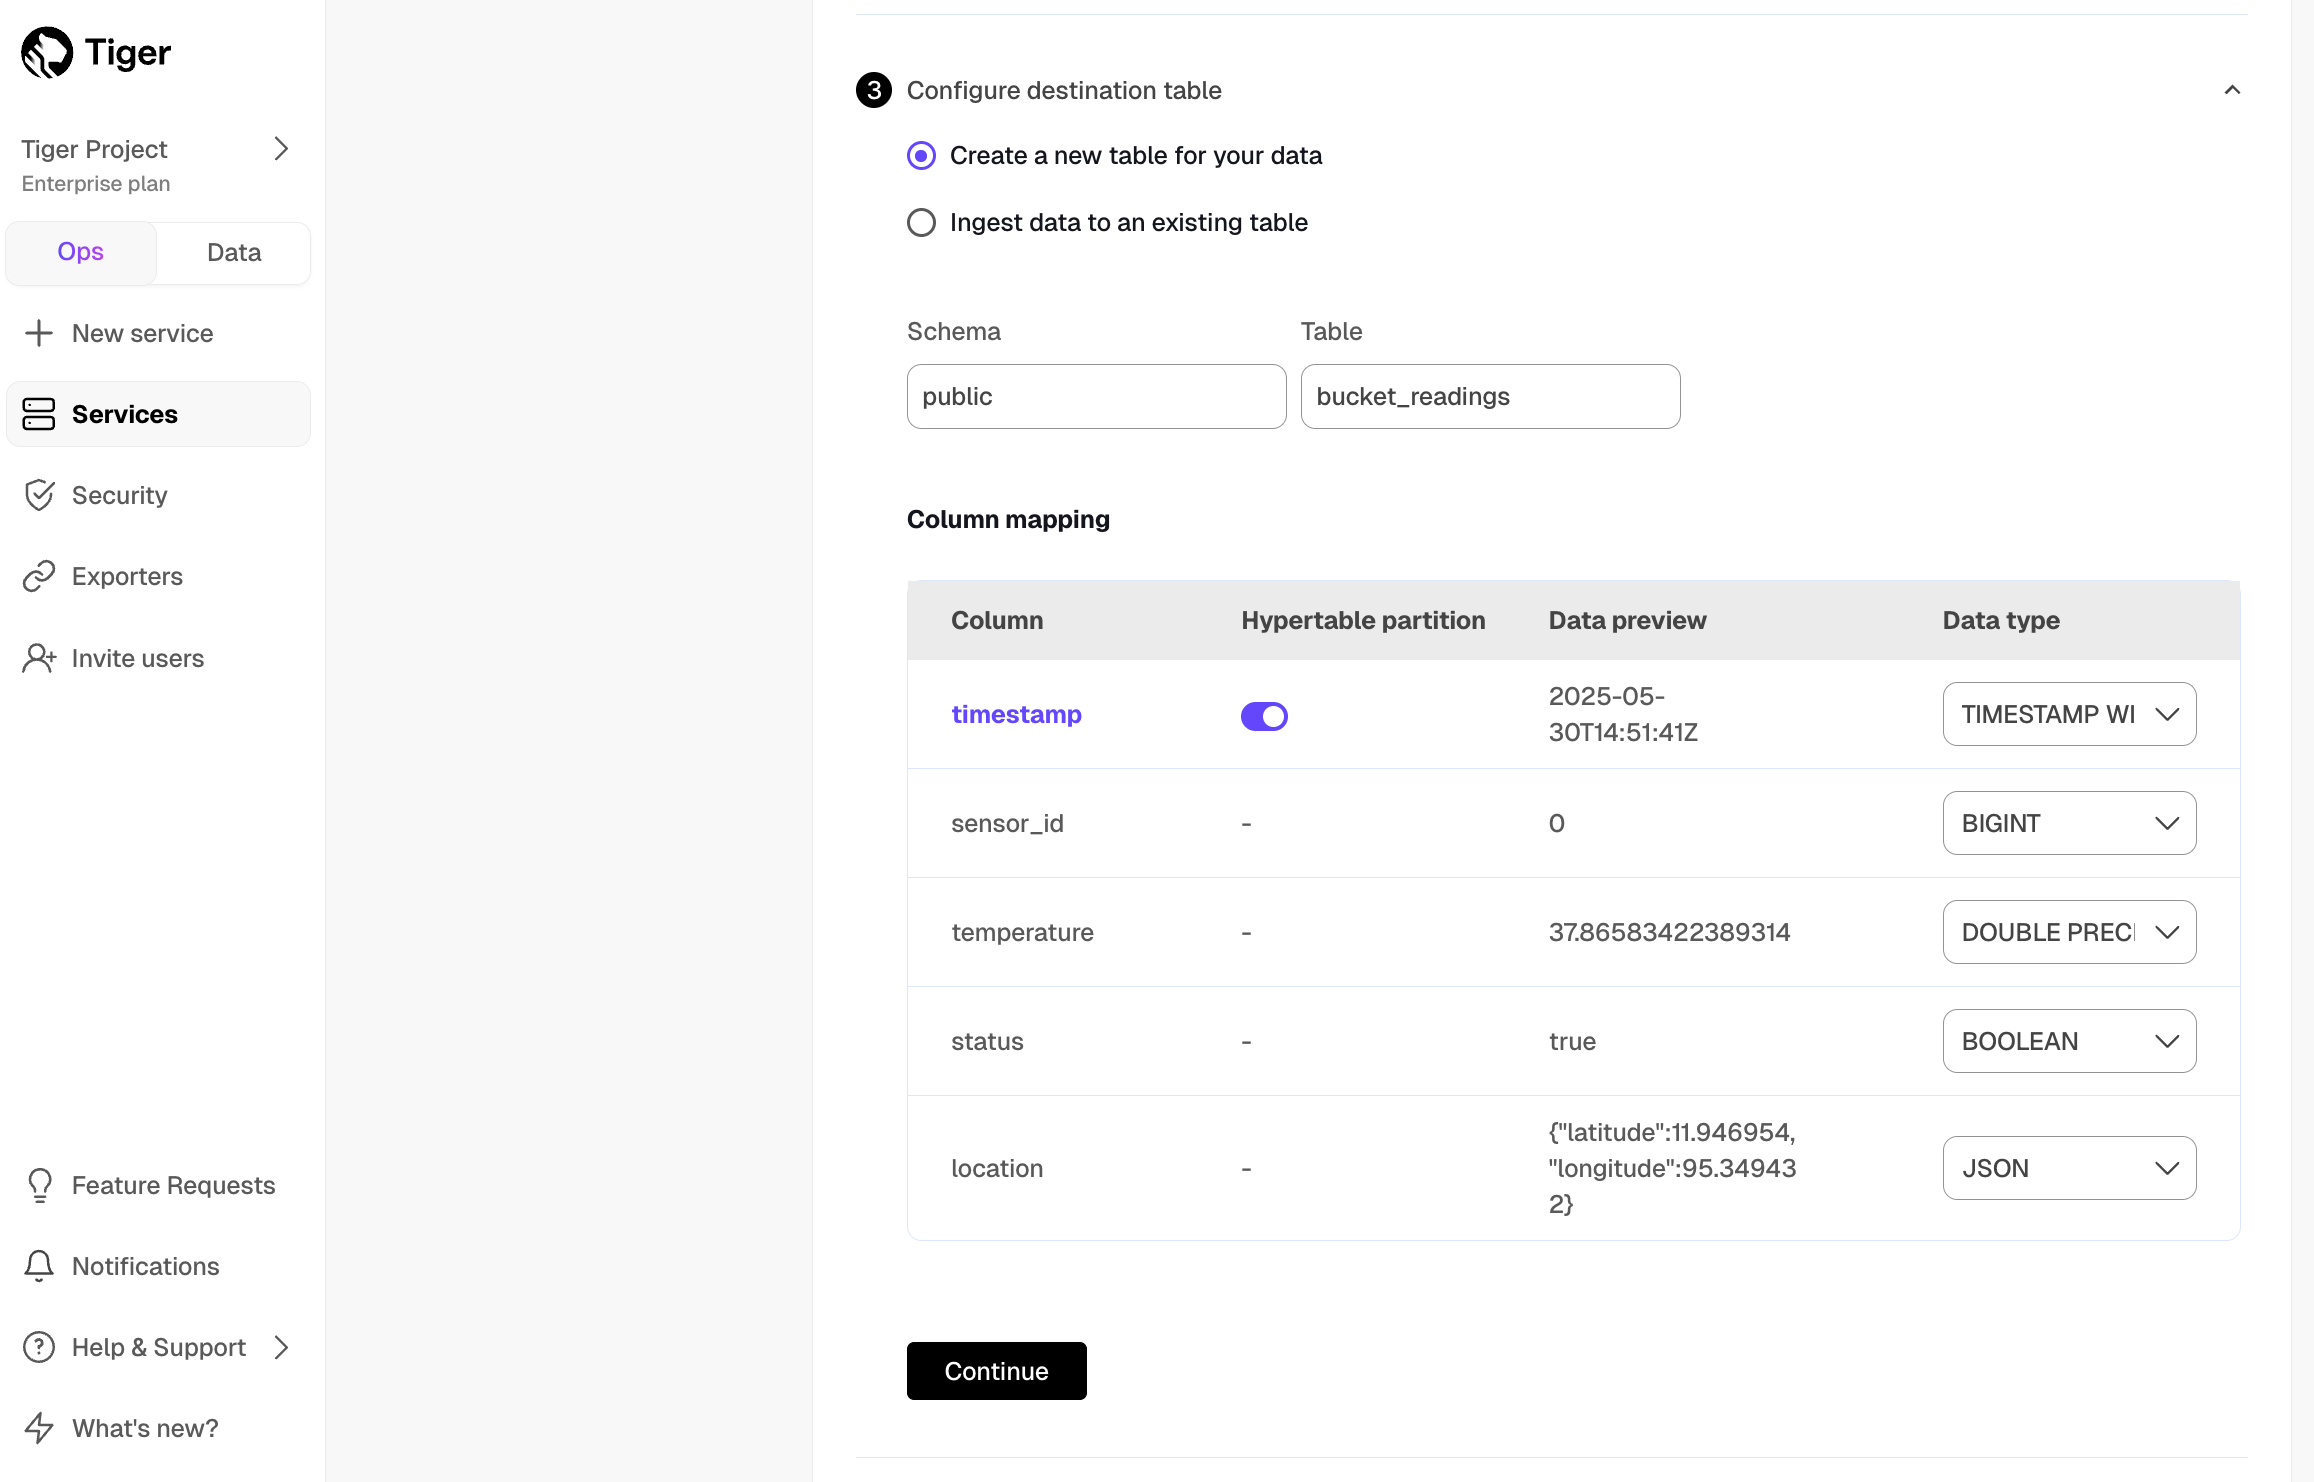 checks the file schema and, if possible, suggests the column to use as the time dimension in a .
-
Choose
Create a new table for your dataorIngest data to an existing table. -
Choose the
Data typefor each column, then clickContinue. -
Configure the insert behavior when there is a conflict, then click
Continue. - Choose the polling interval. This can be a minute, an hour, or a cron expression.
-
Click
Start Connector. starts the connection between the source database and the target and displays the progress.
-
Choose
-
Monitor synchronization
The provides comprehensive observability that gives you maximum visibility on connector performance.
This includes summarized insights into connector state, quick actions, filtering and search to easily find specific files, and detailed lifecycle tracking as each file is imported.
-
To view the amount of data replicated, click
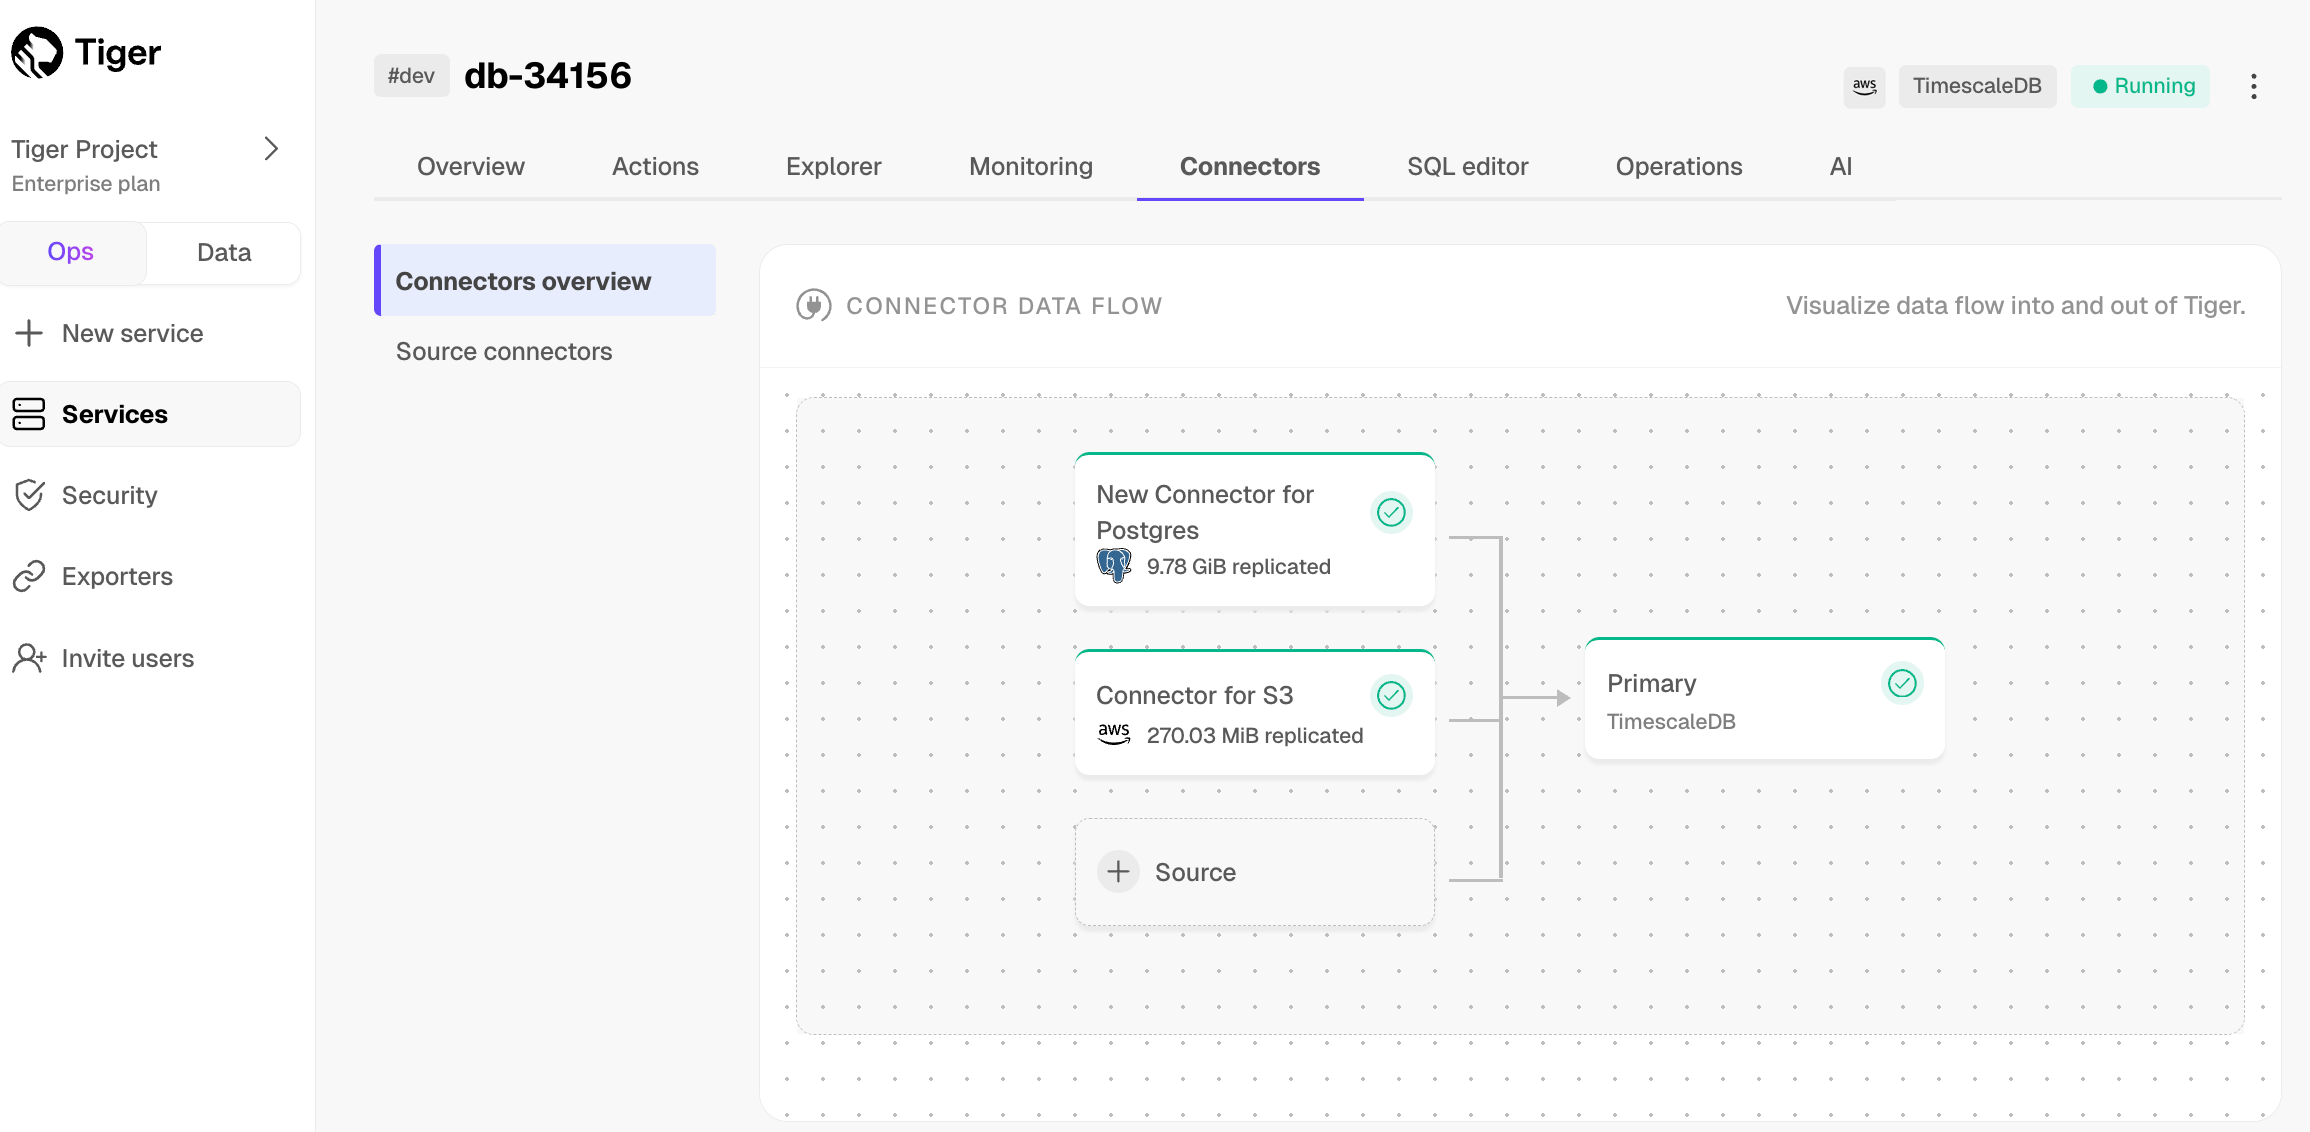
Connectors. The diagram inCONNECTOR DATA FLOWshows the connectors you have created, their status, and how much data has been replicated.
-
To view file import statistics and logs, click
Connectors>Source connectors, then select the name of your connector in the table. The connector dashboard displays all imports at a glance. Use this page to:
- Search by file name: find specific files from the list of imports
- Filter by status: filter files based on their current status:
All statuses: all filesCancelled: files where import is abortedFailure: files where an error occurred during importIn Queue: files that are awaiting processingPaused: files where processing is on holdPending Retry: files that are re-queued for processingRunning: files currently being importedSuccess: files that have been imported
- Bulk retry: retry importing all files with the
Errorstatus - Lifecycle history: view detailed information for all imports, and time spent in each status
- Refresh every minute: enable auto-refresh
-
To view the amount of data replicated, click
-
Manage the connector
-
To pause the connector, click
Connectors>Source connectors. Open the three-dot menu next to your connector in the table, then clickPause.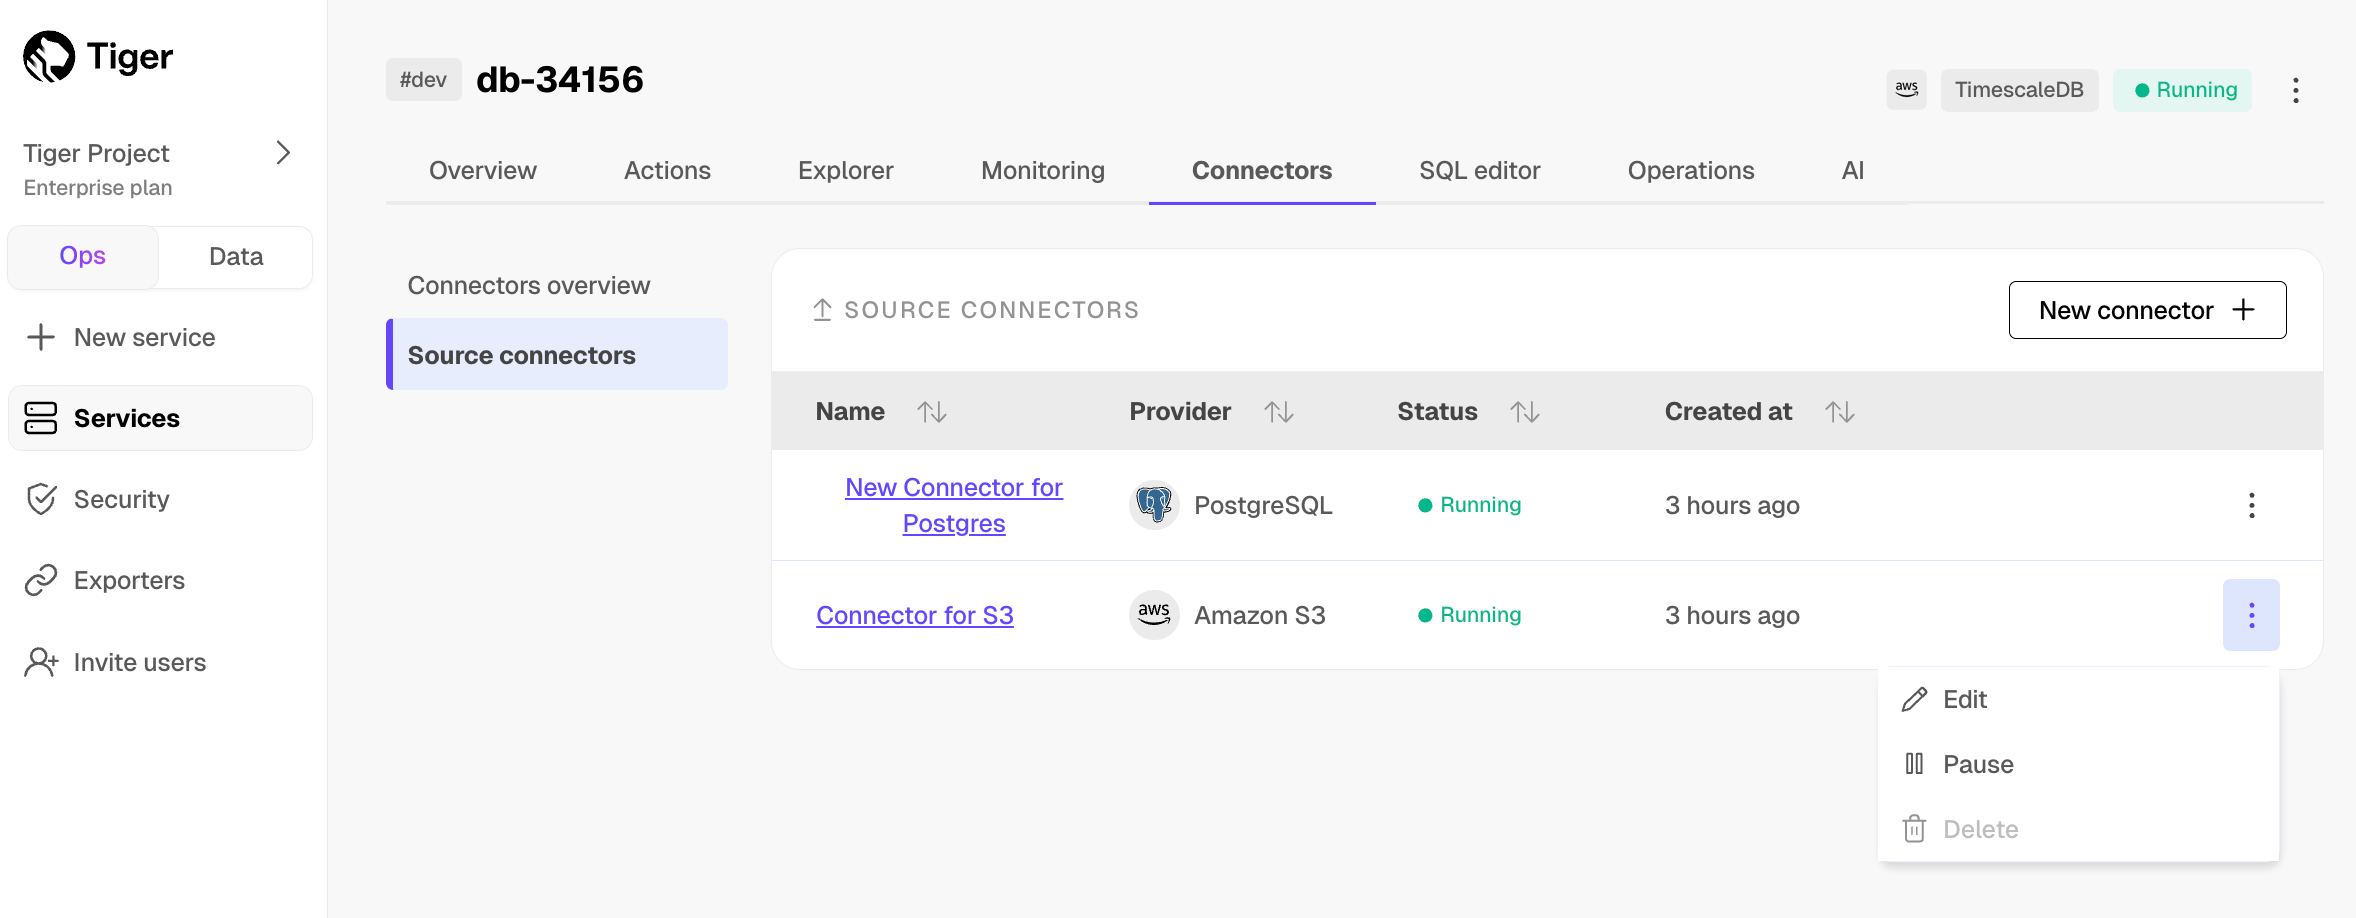
-
To edit the connector, click
Connectors>Source connectors. Open the three-dot menu next to your connector in the table, then clickEdit. SelectConnector settings. You must pause the connector before editing it.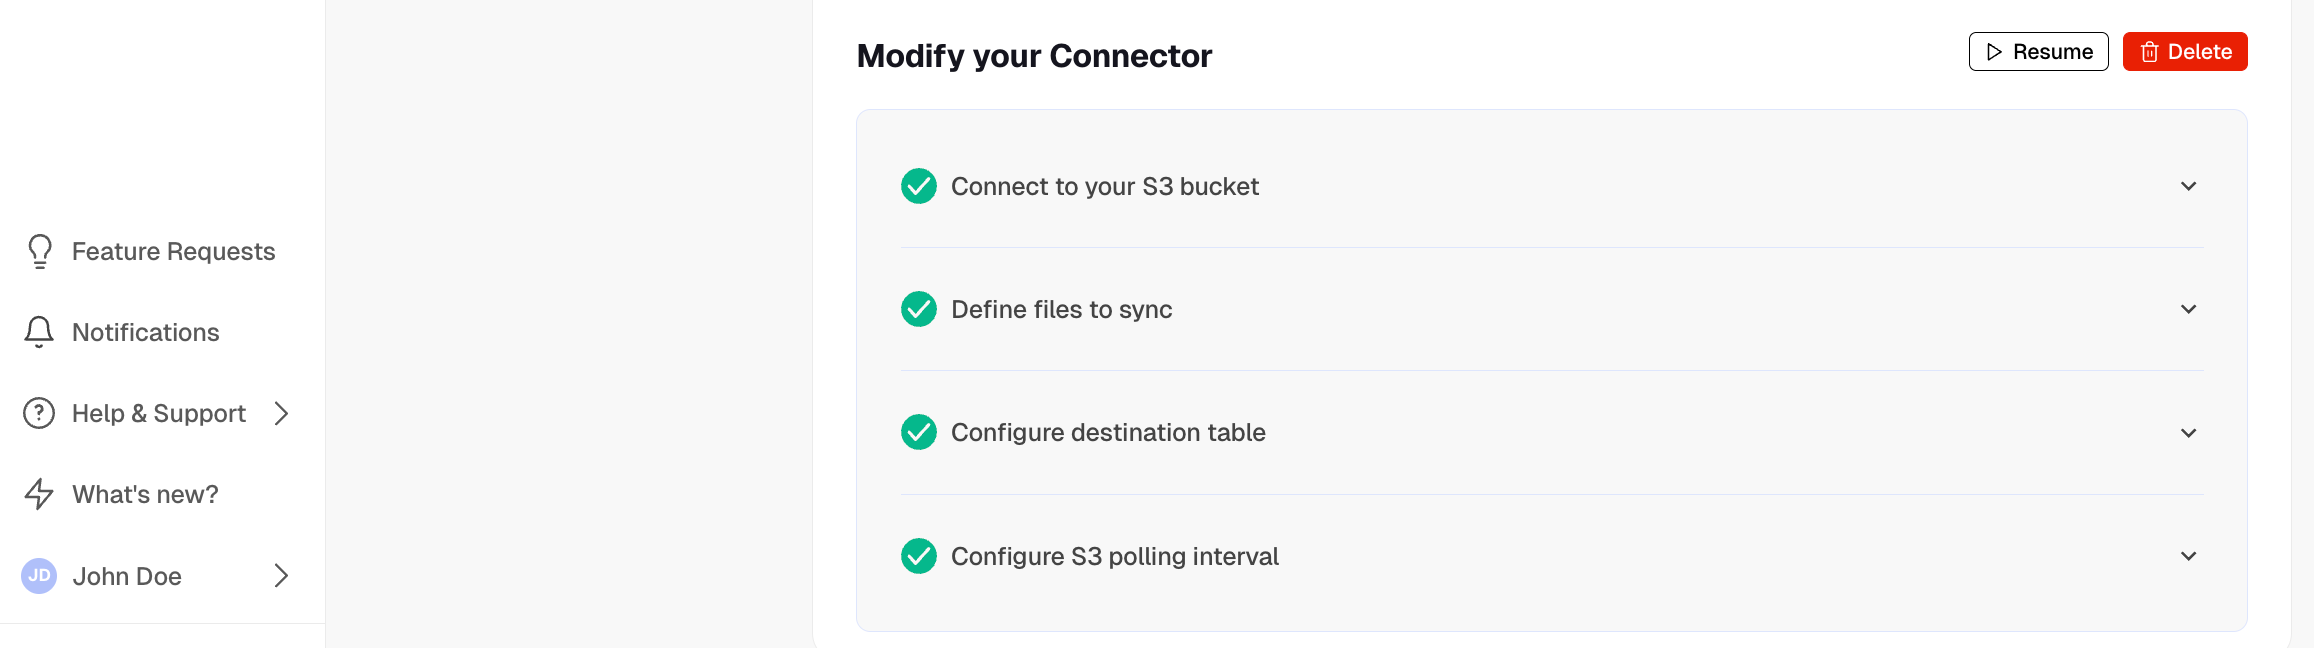
-
To pause or delete the connector, click
Connectors>Source connectors, then open the three-dot menu on the right and select an option. You must pause the connector before deleting it.
-
To pause the connector, click